 srcmini
本文概述
尽管在你的应用中要求创建屏幕截图并不常见, 但是知道如何做不会对你造成伤害。此功能对于每个需要的应用程序都非常有用, 例如, 详细的错误报告!控制台错误消息在许多情况下可能无济于事, 但是, 映像可以节省很多时间。
在本文中, 你将学习如何使用desktopCapture内置组件轻松地从Desktop的不同区域在Electron中创建屏幕截图。
全屏截图
如果你需要截取整个屏幕的屏幕截图, 请使用desktopCapturer模块为你完成此工作。要处理全屏截图, 请使用以下功能:
const {desktopCapturer} = require('electron');

/**
 * Create a screenshot of the entire screen using the desktopCapturer module of Electron.
 *
 * @param callback {Function} callback receives as first parameter the base64 string of the image
 * @param imageFormat {String} Format of the image to generate ('image/jpeg' or 'image/png')
 **/
function fullscreenScreenshot(callback, imageFormat) {
    var _this = this;
    this.callback = callback;
    imageFormat = imageFormat || 'image/jpeg';

    this.handleStream = (stream) => {
        // Create hidden video tag
        var video = document.createElement('video');
        video.style.cssText = 'position:absolute;top:-10000px;left:-10000px;';


        // Event connected to stream
        video.onloadedmetadata = function () {
            // Set video ORIGINAL height (screenshot)
            video.style.height = this.videoHeight + 'px'; // videoHeight
            video.style.width = this.videoWidth + 'px'; // videoWidth

            video.play();

            // Create canvas
            var canvas = document.createElement('canvas');
            canvas.width = this.videoWidth;
            canvas.height = this.videoHeight;
            var ctx = canvas.getContext('2d');
            // Draw video on canvas
            ctx.drawImage(video, 0, 0, canvas.width, canvas.height);

            if (_this.callback) {
                // Save screenshot to base64
                _this.callback(canvas.toDataURL(imageFormat));
            } else {
                console.log('Need callback!');
            }

            // Remove hidden video tag
            video.remove();
            try {
                // Destroy connect to stream
                stream.getTracks()[0].stop();
            } catch (e) {}
        }

        video.srcObject = stream;
        document.body.appendChild(video);
    };

    this.handleError = function(e) {
        console.log(e);
    };

    desktopCapturer.getSources({ types: ['window', 'screen'] }).then(async sources => {
        console.log(sources);

        for (const source of sources) {
            // Filter: main screen
            if ((source.name === "Entire screen") || (source.name === "Screen 1") || (source.name === "Screen 2")) {
                try{
                    const stream = await navigator.mediaDevices.getUserMedia({
                        audio: false, video: {
                            mandatory: {
                                chromeMediaSource: 'desktop', chromeMediaSourceId: source.id, minWidth: 1280, maxWidth: 4000, minHeight: 720, maxHeight: 4000
                            }
                        }
                    });

                    _this.handleStream(stream);
                } catch (e) {
                    _this.handleError(e);
                }
            }
        }
    });
}
该函数将使用desktopCapture模块创建整个屏幕的屏幕截图。它期望将第一个参数作为函数(回调), 当准备好操作屏幕截图时将调用该函数。 (可选)你可以提供结果图像的格式作为内容类型(image / png或image / jpeg)的第二个参数。
用法
该函数的用法很简单, 你可以将其包含在html文档中, 然后从那里使用:
<!DOCTYPE html>
<html>
<head>
<meta charset="utf-8">
<title>My Electron Screenshot App</title>
</head>
<body>
<p>Testing screenshots in Electron :3</p>
<img id="my-preview"/>
<input id="trigger" value="Fullscreen screenshot" type="button"/>
<script>
//* Here the fullscreenScreenshot function *//
document.getElementById("trigger").addEventListener("click", function(){
fullscreenScreenshot(function(base64data){
// Draw image in the img tag
document.getElementById("my-preview").setAttribute("src", base64data);
}, 'image/png');
}, false);
</script>
</body>
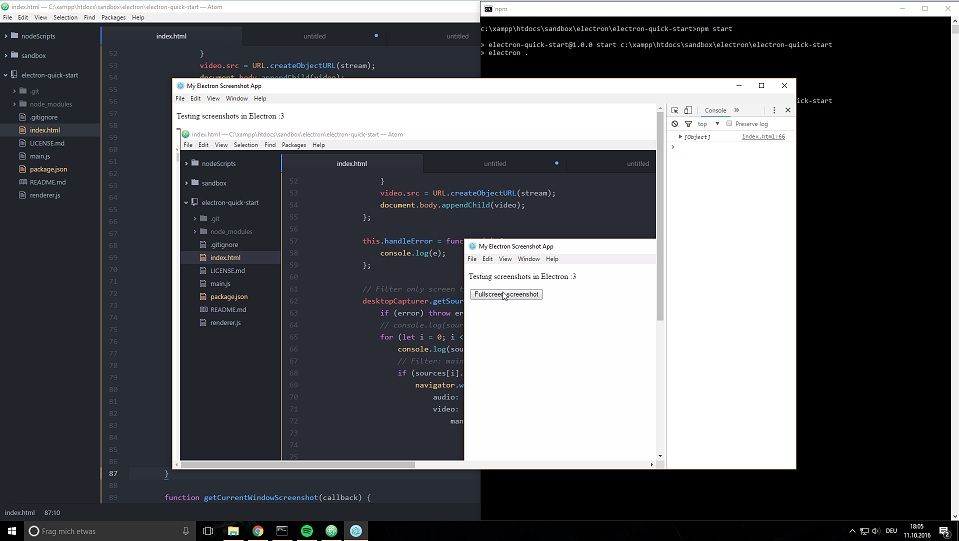
</html>在Electron中执行前一个代码片段时, 应产生类似于以下内容的内容:
太棒了, 甜美又简单吗?
创建你的Electron应用的屏幕截图
要仅创建你的应用的屏幕截图, 我们将使用相同的方法, 但要进行一些修改:
const {desktopCapturer} = require('electron');

/**
* Create a screenshot of your electron app. You can modify which process to render in the conditional line #61.
* In this case, filtered using the title of the document.
*
* @param callback {Function} callback receives as first parameter the base64 string of the image
* @param imageFormat {String} Format of the image to generate ('image/jpeg' or 'image/png')
**/
function appScreenshot(callback, imageFormat) {
    var _this = this;
    this.callback = callback;
    imageFormat = imageFormat || 'image/jpeg';

    this.handleStream = (stream) => {
        // Create hidden video tag
        var video = document.createElement('video');
        video.style.cssText = 'position:absolute;top:-10000px;left:-10000px;';
        // Event connected to stream
        video.onloadedmetadata = function () {
            // Set video ORIGINAL height (screenshot)
            video.style.height = this.videoHeight + 'px'; // videoHeight
            video.style.width = this.videoWidth + 'px'; // videoWidth

            video.play();

            // Create canvas
            var canvas = document.createElement('canvas');
            canvas.width = this.videoWidth;
            canvas.height = this.videoHeight;
            var ctx = canvas.getContext('2d');
            // Draw video on canvas
            ctx.drawImage(video, 0, 0, canvas.width, canvas.height);

            if (_this.callback) {
                // Save screenshot to jpg - base64
                _this.callback(canvas.toDataURL(imageFormat));
            } else {
                console.log('Need callback!');
            }

            // Remove hidden video tag
            video.remove();

            try {
                // Destroy connect to stream
                stream.getTracks()[0].stop();
            } catch (e) {}
        }

        video.srcObject = stream;
        document.body.appendChild(video);
    };

    this.handleError = function(e) {
        console.log(e);
    };

    desktopCapturer.getSources({ types: ['window', 'screen'] }).then(async sources => {
        console.log(sources);

        for (const source of sources) {
            // Filter: main screen
            if (source.name === document.title) {
                try{
                    const stream = await navigator.mediaDevices.getUserMedia({
                        audio: false, video: {
                            mandatory: {
                                chromeMediaSource: 'desktop', chromeMediaSourceId: source.id, minWidth: 1280, maxWidth: 4000, minHeight: 720, maxHeight: 4000
                            }
                        }
                    });

                    _this.handleStream(stream);
                } catch (e) {
                    _this.handleError(e);
                }
            }
        }
    });
}
在这种情况下, 我们将在desktopCapturer.getSources方法中加载窗口和屏幕。这将为对象提供类似于以下内容的结构:
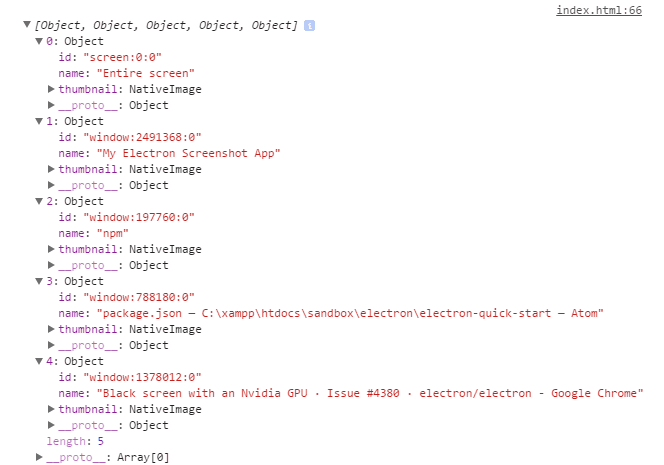
该对象本身包含铬过程中的所有活动窗口(谷歌铬和Electron应用程序)。你可以使用每个对象(名称)的标识符来选择将使用哪个进程来创建屏幕截图。
在这种情况下, 由于我们要创建应用程序的屏幕截图, 因此需要使用摘要中的document.title属性按应用程序的标题(“我的Electron屏幕快照应用程序”)进行过滤, 以识别你的应用程序。
用法
以下代码段显示了如何使用appScreenshot函数轻松创建自己的应用程序的屏幕截图:
<!DOCTYPE html>
<html>
<head>
<meta charset="utf-8">
<title>My Electron Screenshot App</title>
</head>
<body>
<p>Testing screenshots in Electron :3</p>
<img id="my-preview"/>
<input id="trigger" value="Fullscreen screenshot" type="button"/>
<script>
//* Here the appScreenshot function *//
document.getElementById("trigger").addEventListener("click", function(){
appScreenshot(function(base64data){
// Draw image in the img tag
document.getElementById("my-preview").setAttribute("src", base64data);
}, 'image/png');
}, false);
</script>
</body>
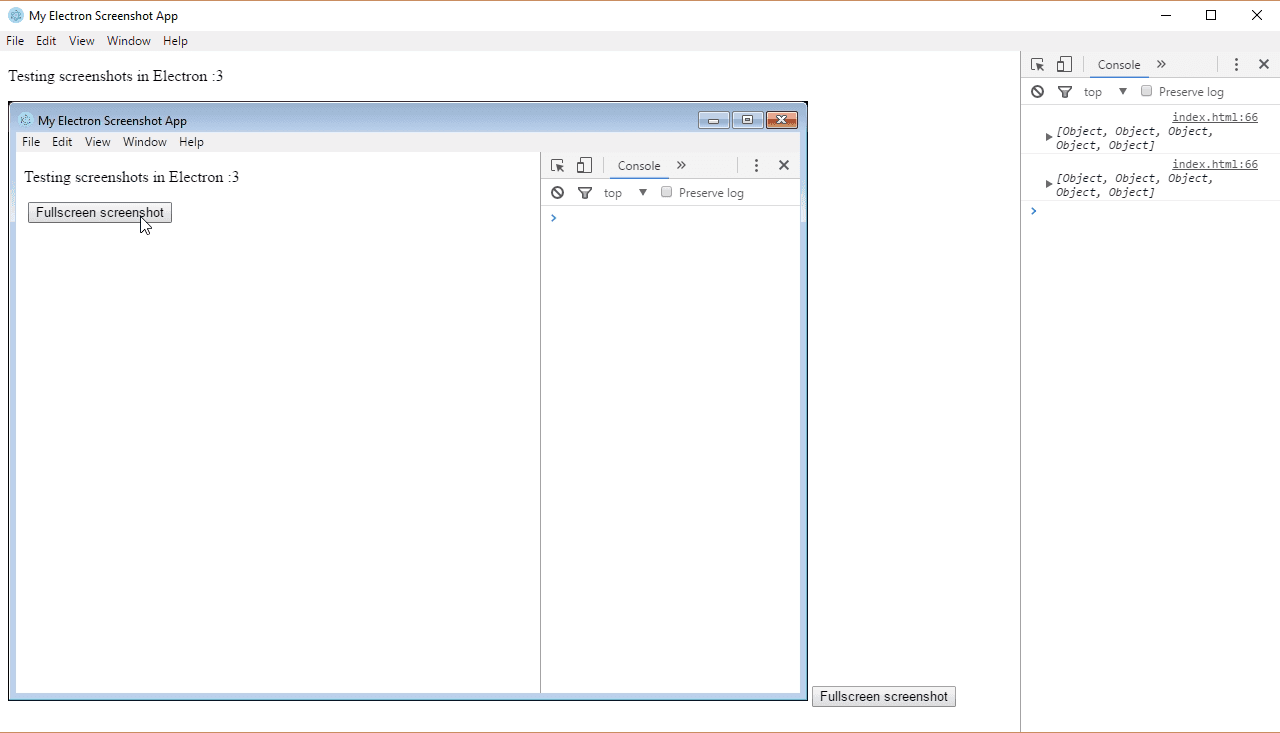
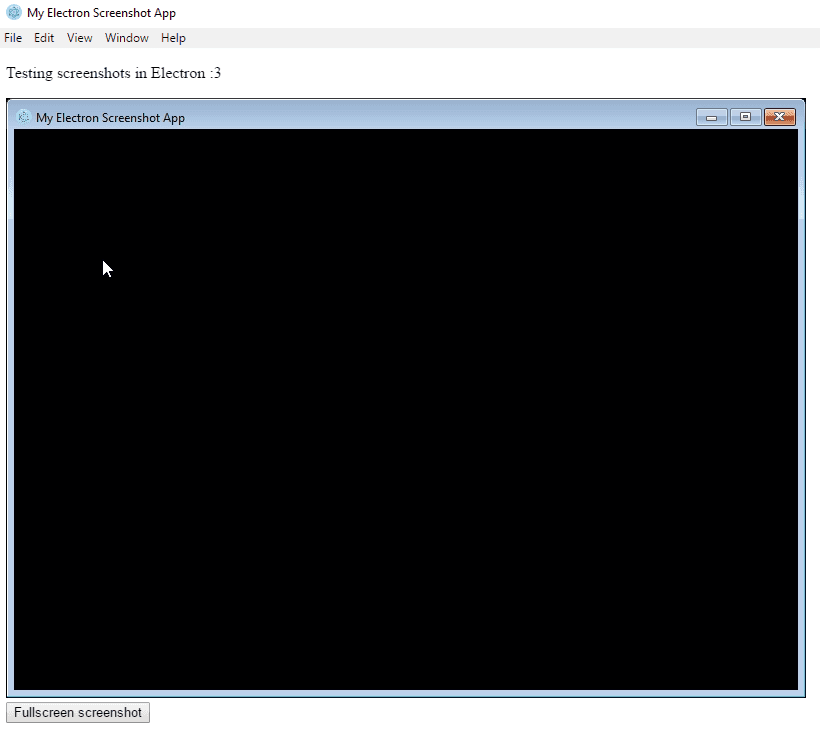
</html>在Electron中执行前一个代码片段时, 应产生类似于以下内容的内容:
注意:如果你遇到黑屏(我们也遇到了这种情况, 因为你可以看到该应用程序具有Windows 10风格, 但由于–disable-d3d11标志可防止黑屏, 因此屏幕截图具有Aero风格), 请使用此方法, 在”已知问题”区域中了解有关该问题以及如何解决它的更多信息。
具有指定尺寸的屏幕截图
如果你想指定应该截取屏幕截图的屏幕坐标, 那么对不起你, 我感到很抱歉, 因为这本来是不可能的。但是, 你可以使用一些技巧来实现你的目标。创建一个全屏快照并使用第三方图像处理模块对其进行裁剪!
在下面的示例中, 我们将使用全屏快照(由第一个功能提供), 并使用jimp模块根据屏幕根据屏幕位置裁剪应用程序(Electron应用程序)的区域不需要任何依赖关系, 并且可以使用纯JavaScript:
<!DOCTYPE html>
<html>
<head>
    <meta charset="UTF-8">
    <title>Working with Screnshots!</title>
</head>
<body>
    <div>
        <img id="image-preview" />
        <input type="button" id="create-screenshot" />
    </div>
    <script>
        /**
         * Create a screenshot of our app from a  fullscreenshot cropping it with Jimp module !
         */
        document.getElementById("create-screenshot").addEventListener("click", function() {
            var Jimp = require("jimp");

            fullscreenScreenshot(function(base64data){
                // add to buffer base64 image instead of saving locally in order to manipulate with Jimp
                var encondedImageBuffer = new Buffer(base64data.replace(/^data:image\/(png|gif|jpeg);base64, /, ''), 'base64');

                var height = window.innerHeight;
                var width = window.innerWidth;
                var distanceX = window.screenLeft;
                var distanceY = window.screenTop;
                var screenDimensions = screen.getPrimaryDisplay().size;
                var screenHeight = screenDimensions.height;
                var screenWidth = screenDimensions.width;

                Jimp.read(encondedImageBuffer, function (err, image) {
                    if (err) throw err;

                    // Show the original width and height of the image in the console
                    console.log(image.bitmap.width, image.bitmap.height);

                    // Resize the image to the size of the screen
                    image.resize(screenWidth, screenHeight)
                    // Crop image according to the coordinates
                    // add some margin pixels for this example
                    image.crop(distanceX + 10, distanceY - 10, width + 10, height + 50)
                    // Get data in base64 and show in img tag
                    .getBase64('image/jpeg', function(err, base64data){
                        document.getElementById("image-preview").setAttribute("src", base64data);
                        //console.log(data);
                    });
                });
            }, "image/jpeg");
        }, false);
    </script>
</body>
</html>
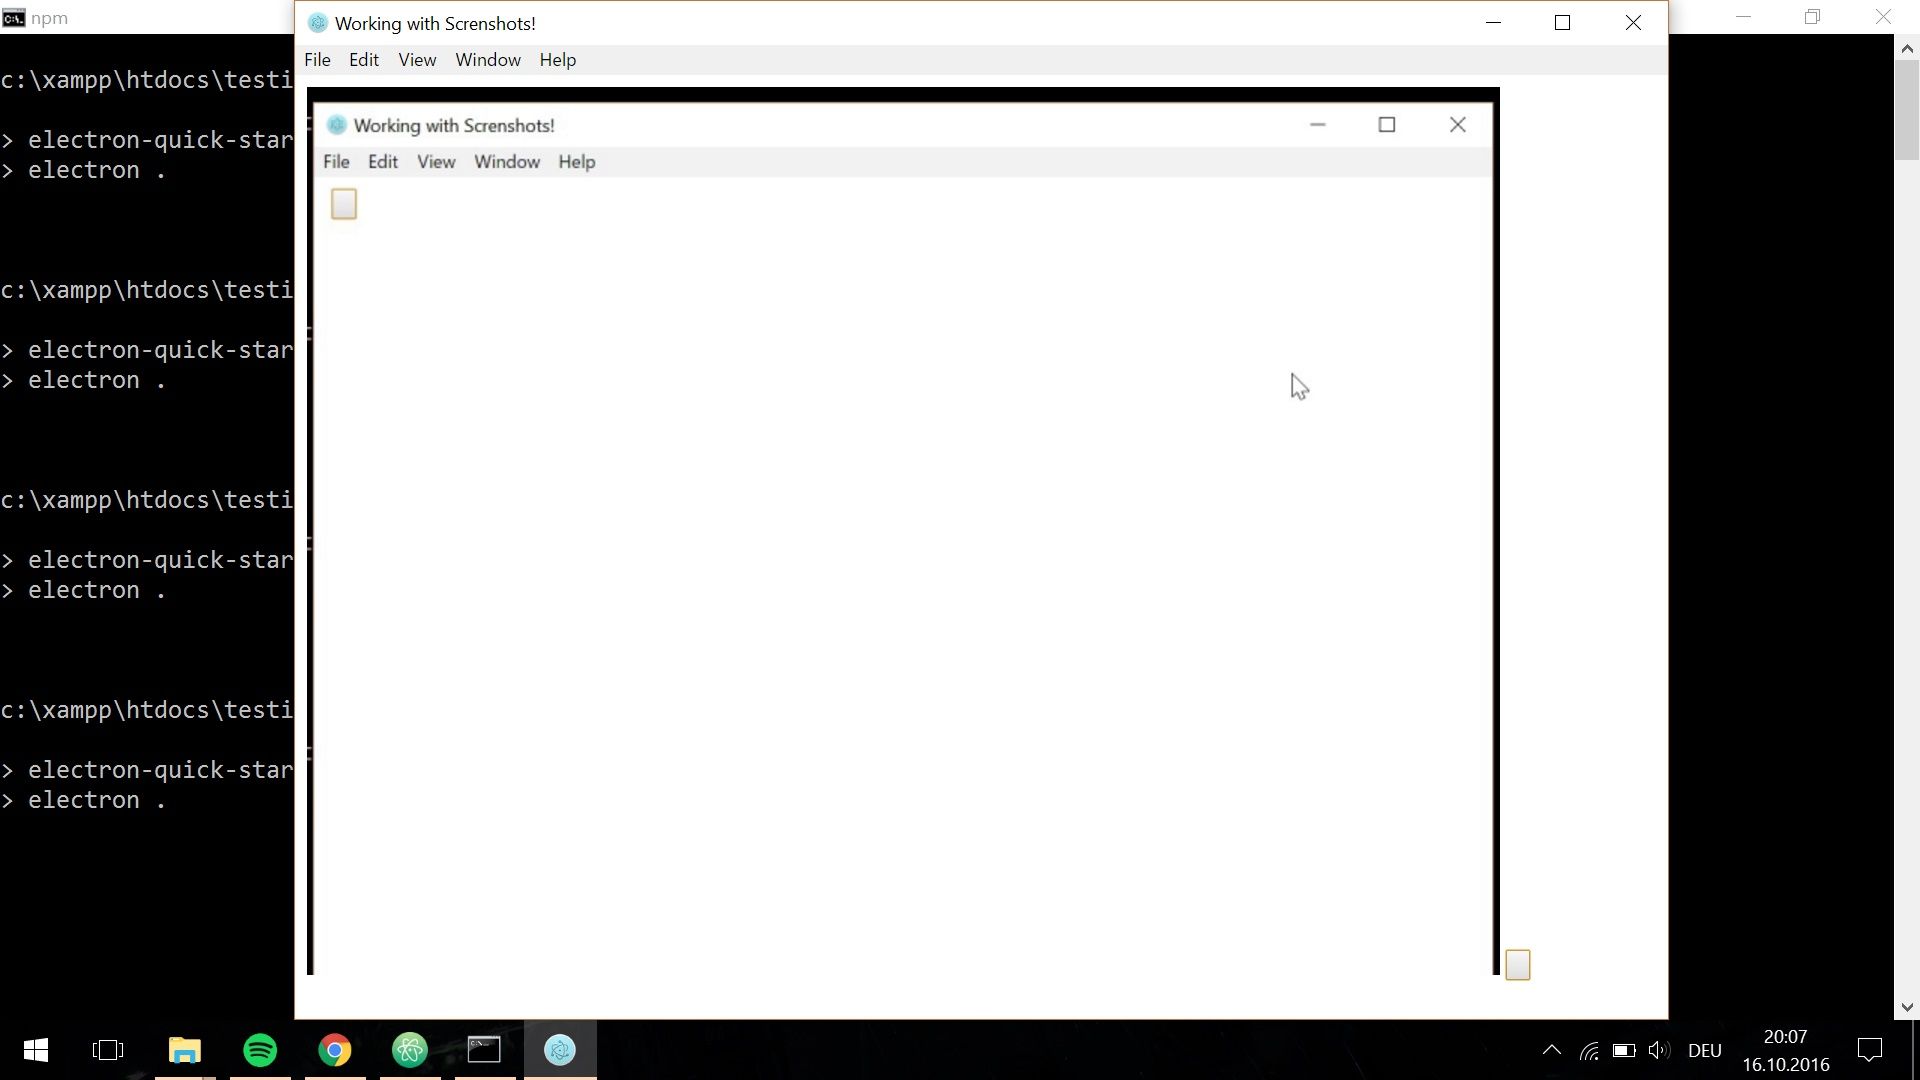
结果应该类似于:
请注意, 该模块是用纯Javascript编写的, 不需要任何本机依赖, 因此它运行起来很慢。由你决定实施任何本机模块, 以便根据需要裁剪图像。
已知的问题
在某些设备中, 你可能会遇到黑屏问题, 此问题在Github中报告:
唯一有效的解决方案是使用一些额外的参数启动应用程序, 以使用标志–disable-d3d11或–disable-gpu阻止DX11的使用或GPU加速。
在以下示例中, 我们将在scripts元素的开始指令中将标记添加到项目的package.json中(请注意, 应用程序初始化时使用–disable-d3d11参数):
{
    "name": "electron-quick-start", "version": "1.0.0", "description": "A minimal Electron application", "main": "main.js", "scripts": {
        "start": "electron . --disable-d3d11"
    }, "repository": {
        "type": "git", "url": "git+https://github.com/electron/electron-quick-start.git"
    }, "keywords": [
        "Electron", "quick", "start", "tutorial"
    ], "author": "GitHub", "license": "CC0-1.0", "bugs": {
        "url": "https://github.com/electron/electron-quick-start/issues"
    }, "homepage": "https://github.com/electron/electron-quick-start#readme", "devDependencies": {
        "electron-prebuilt": "^1.2.0"
    }, "dependencies": {
        "electron-dl": "^1.3.0"
    }
}
然后像往常一样使用npm start启动应用程序, 这应该可以解决问题(在调试模式下应该模拟myapp.exe –argument指令), 请记住仅尝试使用1, 然后再尝试使用两者, 直到它起作用为止。
玩得开心 !
评论前必须登录!
注册