 srcmini
本文概述
地理地图是国家/地区, 大陆或区域地图的地图, 其颜色和值分配给特定区域, 其值以色标显示。如果你的应用程序是基于某种仪表板的, 而该仪表板需要显示地图以显示不同的国家或地区所在的单个国家/地区, 那么最好的选择是使用库来实现, 而不是手动显示SVG并附带已在第三方库上实现。
在本文中, 我们将向你展示如何使用LiveCharts库在C#下的WinForms应用程序中显示地理图表(GeoHeatMap)。
1.安装LiveCharts
要在Visual Studio中的项目上安装此软件包, 请转到解决方案资源管理器, 然后右键单击你的项目。从下拉列表中选择管理NuGet软件包选项:

在管理器中, 转到浏览选项卡并搜索LiveCharts包:
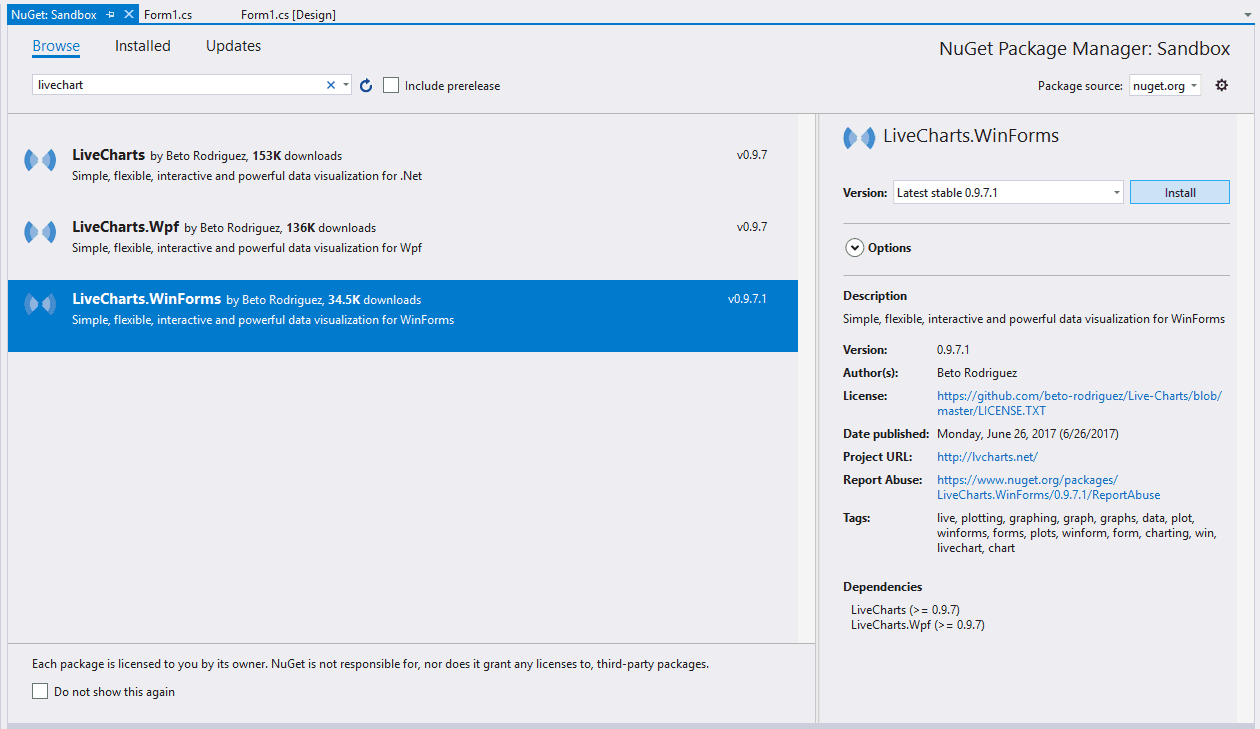
选择Beto Rodriguez的WinForms软件包并将其安装在你的项目中。安装完成后, 你将可以使用该库在代码上呈现图表。有关此库的更多信息, 请访问Github上的官方存储库。
2.准备地图XML文件
重要
请勿将GeoChart从控制箱中拖动, 否则当你未指定地图XML文件的路径时, 由于组件引发的异常, Visual Studio将会崩溃。这就是为什么你需要用代码动态地添加控件的原因。
你可以在此处的存储库中查看和下载项目的所有可用国家(或世界地图)列表。在第一个示例中, 我们将使用包含所有国家/地区的World.xml文件。现在, 有了文件, 你可以将文件存储在所需的目录中, 只要稍后在代码中图表的初始化时指定文件的路径即可。在本例中, 为帮助你理解该路径无关紧要, 我们将其专门存储在桌面中的C:\ Users \ sdkca \ Desktop \ World.xml中。但是, 建议的路径在项目内部, 你可以在其中轻松地将文件作为资源进行访问。
3.初始化并显示GeoMap
开始使用地图的逻辑如下。首先, 你需要知道, 不能仅从Visual Studio左侧库创建的工具箱中拖放GeoMap控件, 因为它会抛出FileNotFound异常, 有时Visual Studio可能崩溃。因此, 为防止这种情况, 只需在表单初始化期间(在表单加载事件中)向组件添加代码即可。
创建一个将包含LiveCharts.WinForms.GeoMap类的实例的变量, 并创建一个字典, 该字典将包含将出现在GeoMap上的值。最后, 将值分配给HeatMap属性, 最后定义Source属性, 并使用要显示的地图XML文件的路径:
// 1. Create a GeoMap control
LiveCharts.WinForms.GeoMap geoMap1 = new LiveCharts.WinForms.GeoMap();

// 2. Create a dictionary that we'll fill with Random Data in this example
Random r = new Random();

// 3. Note that we define the "key" and number pattern, where the key is the
// ID of the element in the XML where you want to define the numeric value.
Dictionary<string, double> values = new Dictionary<string, double>();

// 4. Fill the specific keys of the countries with a random number
values["MX"] = r.Next(0, 100);
values["CA"] = r.Next(0, 100);
values["US"] = r.Next(0, 100);
values["IN"] = r.Next(0, 100);
values["CN"] = r.Next(0, 100);
values["JP"] = r.Next(0, 100);
values["BR"] = r.Next(0, 100);
values["DE"] = r.Next(0, 100);
values["FR"] = r.Next(0, 100);
values["GB"] = r.Next(0, 100);

// 5. Assign data and map file
geoMap1.HeatMap = values;
geoMap1.Source = @"C:\Users\sdkca\Desktop\World.xml";

// 6. Important, you can only add the control to the form after defining the source of the map, // otherwise it will throw a File Not Found exception
this.Controls.Add(geoMap1);
// 7. Set the style of the control to fill it's container, in this example will fill the entire form
geoMap1.Dock = DockStyle.Fill;
如果签出地图的XML数据的内容, 则会找到指定2个字符的Id块:
<Shapes>
    <MapShape>
      <Id>AF</Id>
      <Name>Afghanistan</Name>
      <Path>EXAMPLE DATA</Path>
    </MapShape>
    <MapShape>
      <Id>AO</Id>
      <Name>Angola</Name>
      <Path>EXAMPLE DATA</Path>
    </MapShape>
    <MapShape>
....
使用标识符, 可以在代码中设置元素的数据, 例如:
// Define data
Dictionary<string, double> values = new Dictionary<string, double>();
values["MX"] = 3251;
values["CA"] = 321;
values["US"] = 123;
values["IN"] = 12;
values["CN"] = 123123;
values["JP"] = 9345;
values["BR"] = 3457;
values["DE"] = 7889;
values["FR"] = 321;
values["GB"] = 1234;

// Asign data to HeatMap
geoMap1.HeatMap = values;
以下完整示例将显示与本文开头所示相同的地图:
using System;
using System.Windows.Forms;
using System.Collections.Generic;
using System.Drawing;
// Include the required namespace of LiveCharts
using LiveCharts;
using LiveCharts.Wpf;
using LiveCharts.WinForms;

namespace Sandbox
{
    public partial class Form1 : Form
    {
        public Form1()
        {
            InitializeComponent();
        }

        private void Form1_Load(object sender, EventArgs e)
        {
            // Create a GeoMap control
            LiveCharts.WinForms.GeoMap geoMap1 = new LiveCharts.WinForms.GeoMap();

            // Create a dictionary that we'll fill with Random Data in this example
            Random r = new Random();

            // Note that we define the "key" and number pattern, where the key is the
            // ID of the element in the XML where you want to define the numeric value.
            Dictionary<string, double> values = new Dictionary<string, double>();

            // Fill the specific keys of the countries with a random number
            values["MX"] = r.Next(0, 100);
            values["CA"] = r.Next(0, 100);
            values["US"] = r.Next(0, 100);
            values["IN"] = r.Next(0, 100);
            values["CN"] = r.Next(0, 100);
            values["JP"] = r.Next(0, 100);
            values["BR"] = r.Next(0, 100);
            values["DE"] = r.Next(0, 100);
            values["FR"] = r.Next(0, 100);
            values["GB"] = r.Next(0, 100);

            geoMap1.HeatMap = values;
            geoMap1.Source = @"C:\Users\sdkca\Desktop\World.xml";

            // Important, you can only add the control to the form after defining the source of the map, // otherwise it will throw a File Not Found exception
            this.Controls.Add(geoMap1);
            // Set the style of the control to fill it's container, in this example will fill the entire form
            geoMap1.Dock = DockStyle.Fill;
        }
    }
}
4.附加点击事件监听器
最后, 几乎每个人都需要的功能是可以知道单击地图上的哪个元素。这可以通过地图的LandClick事件完成, 因此你可以简单地附加侦听器:
private void Form1_Load(object sender, EventArgs e)
{
    // Add the on click listener
    geoMap1.LandClick += GeoMap1_LandClick;
}

private void GeoMap1_LandClick(object arg1, LiveCharts.Maps.MapData arg2)
{
    // Display the ID of the clicked element in the map
    // e.g "FR", "DE"
    Console.WriteLine(arg2.Id);
}
因此, 当用户单击地图上的某些项目时, 你将在控制台中看到被单击元素的ID。据此, 你以后可以对数据进行任何处理。
编码愉快!
评论前必须登录!
注册